

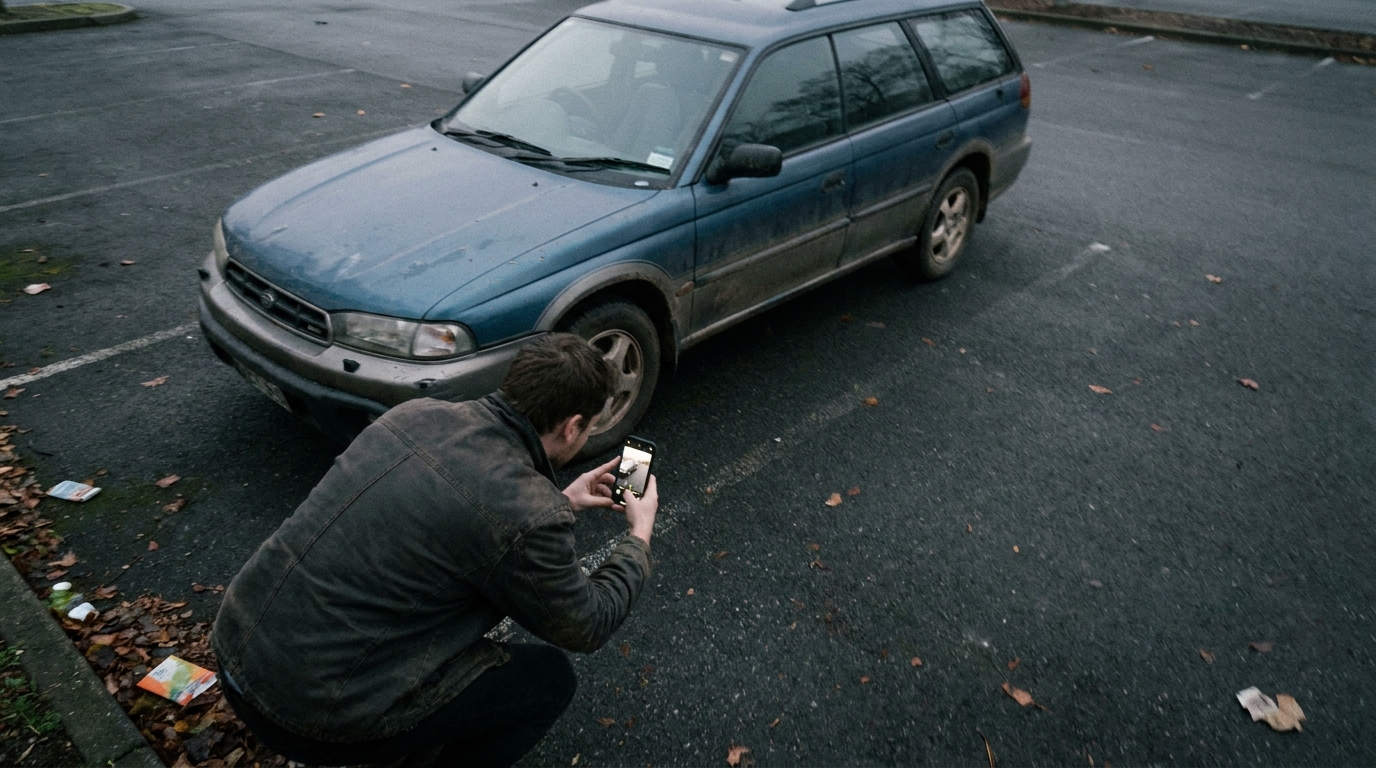
Nearly every guide to car photography is written for someone with a dealership lot, a camera body and an afternoon. You have a phone, a driveway and about twenty minutes before you have to be somewhere.
This is that version. No equipment, no editing skill assumed.
Get the timing right, because it does more than anything else
Shoot in the hour after sunrise or the hour before sunset. This is the one piece of advice that is worth rearranging your day for.
Midday sun is the enemy. It comes from directly overhead, which puts hard shadows under the car and along every crease, blows out the roof and bonnet into featureless white, and turns your windows into mirrors. Cars photographed at noon look flat and cheap regardless of the car.
Overcast is the reliable fallback and honestly it is close to ideal. A grey sky is a giant softbox. Colours read true, there are no hard shadows, and paint looks even. If you have a choice between bright midday sun and light overcast, take the overcast every time.
Avoid direct rain on the paint. Water beading reads as "just washed" to some buyers and "hiding something" to others, and it makes scratches invisible, which is a problem for reasons covered further down.
Wash the car. Actually wash it
This is boring and it is the highest return twenty minutes in the entire process. Not a detail, just a proper wash and dry, wheels included, and clear the interior completely. Every wrapper, every charging cable, the box of stuff in the boot.
An unwashed car does not photograph as "an honest unwashed car". It photographs as a car that has not been looked after, which is a claim about maintenance history that you probably do not intend to make.
Where to stand
Get low. Phone at roughly headlight height, not chest height. Chest height is how everyone photographs a car by default and it makes the car look small, the roof look large and the stance look wrong. Crouch slightly. It is an immediate and dramatic improvement and it costs nothing.
Back up and zoom in. Do not walk close and shoot wide. Phone wide angle lenses distort at close range, bulging the nearest panel and shrinking everything behind it. Stand three or four metres further back than feels natural and use the 2x lens if your phone has one. The proportions will look right instead of cartoonish.
Turn the front wheels. Angle them slightly toward the camera on your three quarter shots so you see the face of the wheel rather than its edge. Small thing, looks considerably more deliberate.
Shoot landscape. Every listing platform is built horizontally.
The shot list
Fifteen photos, which sounds like a lot and takes about ten minutes. The same set works across Carsales, Gumtree and Facebook Marketplace with different crops.
Front three quarter, from low, wheels turned. This is your hero shot and the one you lead the listing with.
Rear three quarter, matching angle from the other corner.
Straight side, both sides, camera level with the middle of the car.
Straight front. Straight rear.
One wheel and tyre, close enough to see tread.
Interior from the open driver's door, showing seat and dash together.
Front seats photographed from the back seat.
Rear seats.
Instrument cluster with the ignition on so the odometer reads.
Engine bay, bonnet fully up.
Boot, completely empty.
Service book or logbook, open to a stamped page.
Any damage you know about, photographed plainly.
That last one is the important one
Photograph the flaws. Deliberately, in good light, close enough to see clearly.
This feels like sabotage and it is the opposite. A buyer who has already seen the kerbed rim and the bumper scuff in your gallery and rang you anyway is a buyer who is not going to use them to knock four hundred dollars off in your driveway. You have pre negotiated. The flaws are priced in before anyone gets in the car.
Sellers who hide damage do not avoid the conversation. They just have it later, in person, from a weaker position, with someone who now suspects there is more they have not been told.
Backgrounds, and the honest limitation of all this advice
You can do everything above and still be photographing a car in front of a fence, a bin, and the neighbour's ute.
This is the real gap between your listing and the dealer listing sitting next to it, and it is not a photography skill gap. They have a lot. You have a driveway. No amount of crouching fixes that.
Replacing the background is the practical answer, and it is a legitimate edit because it changes nothing about the vehicle. Here is where we draw the line on what should and should not be edited. It is also a lot more involved than it sounds. A car pasted onto a new backdrop looks obviously fake unless the lighting on the paint, the reflections and the shadow underneath all match the new surroundings. Doing that while leaving every stone chip and scratch exactly as photographed is genuinely difficult, which is most of what Cardabra is. From where you are standing it is a photo upload and picking a background, and you get six free credits to see whether the result holds up.
Do the wash, the timing and the low angle first though. A well shot photo in a new background looks excellent. A badly shot photo in a new background just looks like a badly shot photo somewhere else.
If you only do three things
Wash it. Shoot at the end of the day, from low, standing further back than feels right. Photograph the damage on purpose.
That is most of the gap closed, in under half an hour, with the phone already in your pocket. If you are a private seller, blur the number plate before you upload.
When the shots are done, Cardabra can rebuild the background and lighting around the car while leaving its condition exactly as photographed, and the free trial credits are enough to see the result on your own photos.
Turn your phone snaps into showroom-grade listings.
Upload a photo, pick a background, and Cardabra returns a polished listing image in about 30 seconds.